Australia's Cheapest Stone Tiles & Pavers

360,000+ Happy Customers
36 years in business

FREE Express Posted Samples

Fast & Easy Nationwide Delivery

-


Grey Quartz Natural Split Cobblestones for Driveways on Mesh Sheets
Original price was: $89.00.$72.00 excl. GSTCurrent price is: $72.00.Select optionsThis product has multiple variants. The options may be chosen on the product page 
Raven Natural Split Grey Cobblestones on Mesh Sheets
$90.00 excl. GSTSelect optionsThis product has multiple variants. The options may be chosen on the product page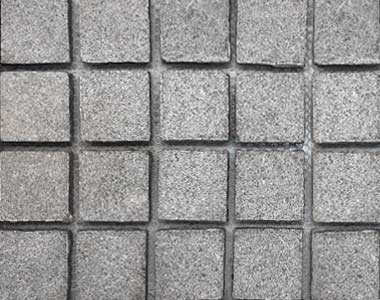

Raven Exfoliated Grey Cobblestones on Mesh Sheets
$77.00 excl. GSTSelect optionsThis product has multiple variants. The options may be chosen on the product page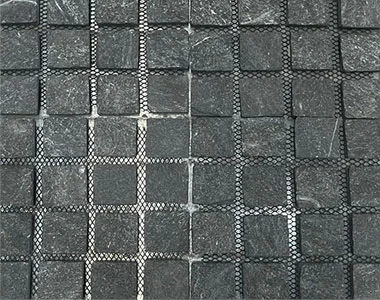
Black Quartz Cobblestones on Mesh Sheets
$99.00 excl. GSTSelect optionsThis product has multiple variants. The options may be chosen on the product pageDove Exfoliated White Cobblestones on Mesh Sheets
excl. GSTRead more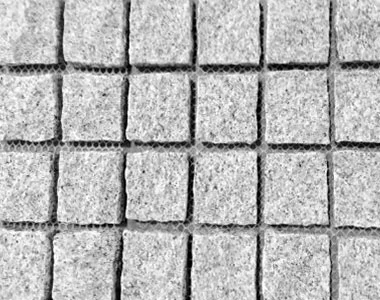
Dove Natural Split White Cobblestones on Mesh Sheets
excl. GSTRead more
Midnight Natural Split Black Cobblestones on Mesh Sheets
$126.00 excl. GSTSelect optionsThis product has multiple variants. The options may be chosen on the product page-

Midnight Exfoliated Black Cobblestones on Mesh Sheets
Original price was: $99.00.$81.00 excl. GSTCurrent price is: $81.00.Select optionsThis product has multiple variants. The options may be chosen on the product page -


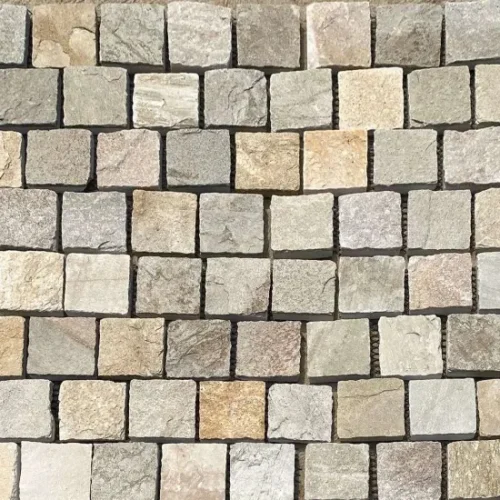
Porphyry Cobblestones on Mesh Sheets
Original price was: $129.00.$90.00 excl. GSTCurrent price is: $90.00.Select optionsThis product has multiple variants. The options may be chosen on the product page 
Fan Cobblestones on Mesh Sheets
excl. GSTRead more-

Golden Quartz Cobblestones on Mesh Sheets
Original price was: $129.00.$90.00 excl. GSTCurrent price is: $90.00.Select optionsThis product has multiple variants. The options may be chosen on the product page