

Glenn Russell - Master Stonemason
Experienced working in the industry for over 30 years.
Author
How to install Granite Pavers?
A Step-by-Step Guide Installing granite pavers can enhance the beauty and functionality of your outdoor spaces. This guide provides a clear, step-by-step process to ensure a successful installation.
Tools Required : Before you begin, gather the following tools: Measuring tape Stringline Rubber mallet or wooden blockLevel12mm notch Trowel Grout float Soft brush or sponge Bucket Damp cloth or sponge for cleaning Safety glasses and gloves (recommended for handling materials and using adhesives)Dust mask (when mixing sand, cement, or adhesive)
Optional: Wet saw (available for hire) for cutting stone Pavers
Optional: Cement mixer or wheelbarrow for mixing sand and cement Grout spacers (5mm)Quick-drying adhesive Installation Steps Preparation:
Assess the Area: Ensure the installation site is suitable for granite pavers. If there is an existing concrete slab in good condition, you can proceed with laying the sand and cement.
Mix Stone Pavers: When purchasing multiple crates of stone pavers, mix them on-site to blend natural color variations for a consistent look. Instructions:
Step 1: Mixing The Mortar Combine 4 parts white brick sand, 1 part GP cement, lime, and 1 cap of plasticizer. Gradually add water until you achieve a workable consistency that holds its shape without clumping.
Step 2: Setting Up Decide on your starting point. Apply quick-drying adhesive to the back of each stone before placing it in the mortar mix.
Step 3: Laying The Mortar Run a string line along the length of each row to ensure straight lines. Apply the mortar to the concrete slab at a depth of 20mm, adjusting as necessary for additional height or to create a fall (10mm per meter).
Step 4: Laying The Pavers Carefully place each paver onto the mortar, tapping it gently with the rubber mallet. Check its level after each tap to ensure proper alignment.
Step 5: Cleaning & Finishing Wash away excess mortar from the grout lines between the pavers. Smooth out any mortar on the sides of the pavers. If possible, reuse leftover mortar for the final row; otherwise, remove any excess mortar before it dries.
Step 6: Spacing Use 3mm or 5mm spacers placed vertically between the pavers to maintain consistent spacing. These can be removed and reused the following day. Ensure no sand or cement protrudes above the height of the stone.
Step 7: Grouting Mix your grout to a toothpaste consistency. Use your rubber grout float, angled upward, to push the grout into the grout lines. Lightly scrape the surface and pull the float at an angle of more than 45 degrees to avoid pulling grout out of the lines.
Step 8: Washing Throughout the grouting process, use a “Wash Boy Grout Bucket” to ensure no grout residue hardens on the surface of the tiles.
After 2-3 days, once the grout has hardened, perform a light high-pressure wash, ensuring to wash the entire area for a consistent clean. Special Instructions for Dove White Granite Use Mapei White Keraquick Maxi S1 on the back of each tile before laying into sand and cement.
For adhesive, Grani Rapid or Keraquick Maxi is preferred. Reseal your project with a rock star penetrating sealer before grouting. Use Davco light grey slate & quarry grout, ensuring grout lines are completely free of moisture before grouting. By following these steps and using the right tools, you can successfully install granite pavers that enhance your outdoor spaces. Enjoy your beautiful new flooring!
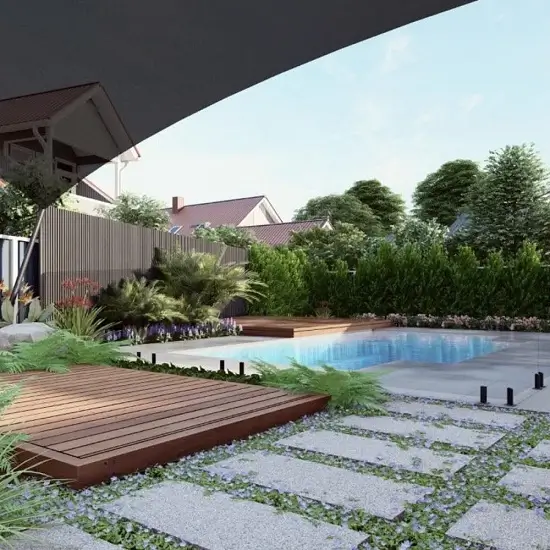
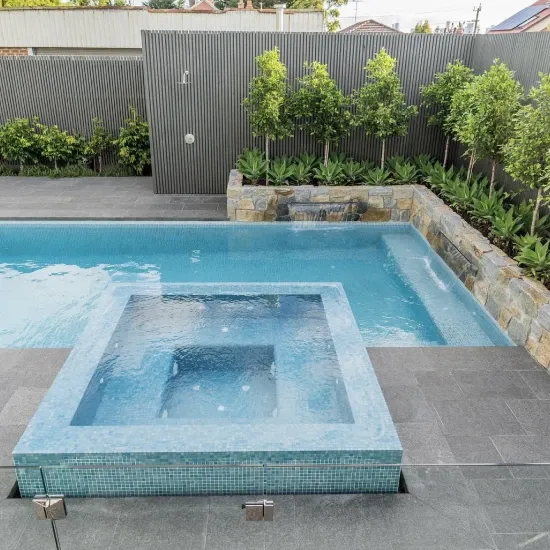
Get Inspired by Granite Pavers Image Gallery
Related Granite Pavers Articles :
How to Install Granite Pavers?
Pros and Cons of Granite Pavers
Granite Natural Stone Pavers and Tiles
Looking for Quality Granite Pavers?
Give us a call today on (03) 9706 9767
