


How to Install Natural Stone Pavers in Australia: Step-by-Step for Pools, Patios & Pathways
Glenn Russell - Master Stonemason
Experienced working in the industry for over 40 years.
Author
Ultimate Guide to Installing Pavers in Australia – Bushfire, Coastal & Climate Considerations
The Stone & Slate Discounts Guide to Installing Natural Stone Pavers in Australia
Pro tips from Metro Melbourne – with Master Stonemason Glenn Russell
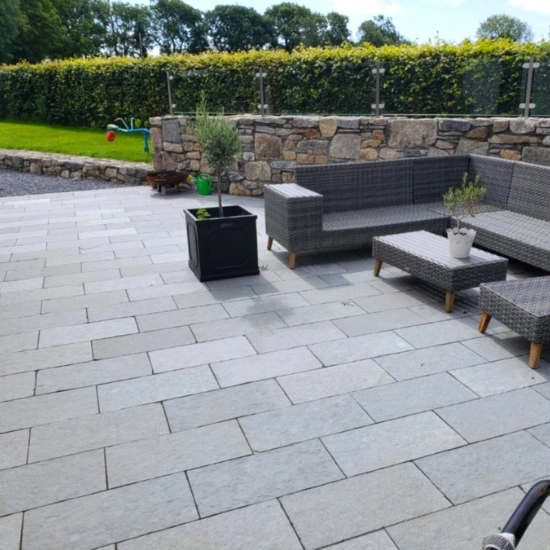
Natural stone pavers can transform an outdoor area from “nice” to next-level — but only if they’re installed properly. In Australia, our weather swings, reactive soils, and outdoor living culture mean the base, drainage, and jointing matter just as much as the stone itself.
At Stone & Slate Discounts (Metro Melbourne), we supply stone every day for patios, pool surrounds, courtyards and pathways — and we’ve seen what happens when installs cut corners. This guide is designed to help you get it right the first time, whether you’re a DIYer (for simple paths) or working with a landscaper or builder.
1) Choose the right installation method (this is the big decision)
Option A — Sand/Cement Base (most common for 30mm pavers)
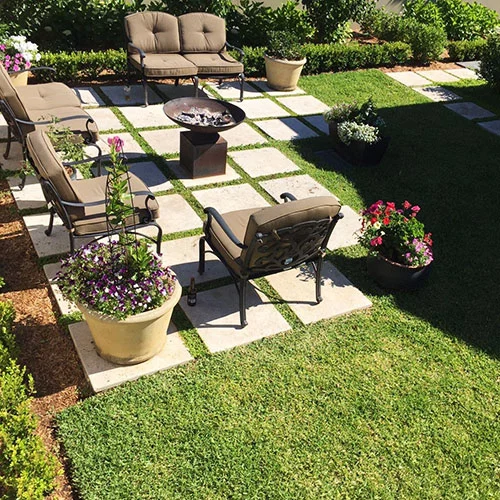
Best for:
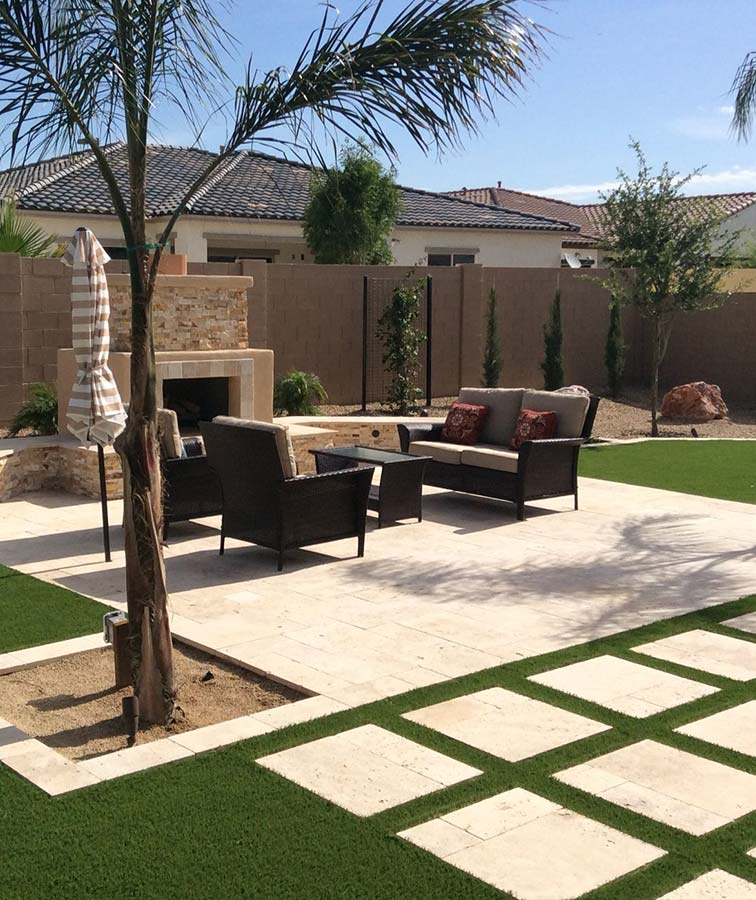
- patios, courtyards, paths, entertaining areas
- most outdoor residential pedestrian spaces
- many pool surrounds using thicker pavers
This is the classic “paver install” system: compacted crushed rock (road base), then a sand/cement bedding layer, then pavers.
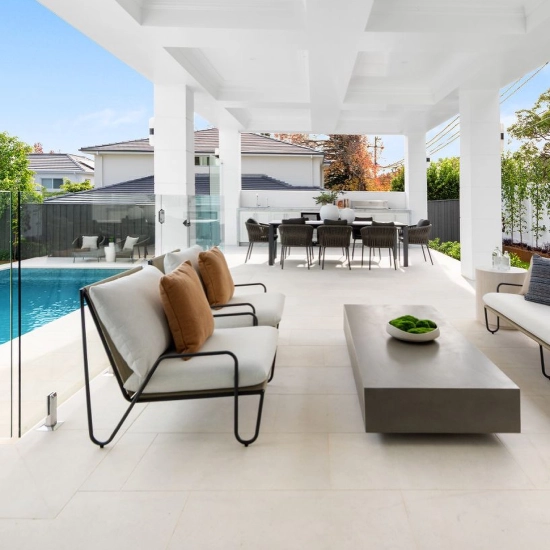
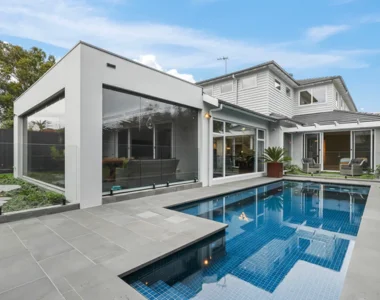
Option B — Wet-Lay on Concrete Slab (best for 12mm–20mm stone)
Best for:
- outdoor tiled areas on slab (especially around pools)
- alfresco slabs, balconies, terraces
- anywhere you want a flatter, “tile-like” finish
If you’re using 12mm natural stone, wet-laying onto a slab is the correct approach — and it’s a brilliant method for pool surrounds when done properly.
2) Planning: levels, drainage and layout (don’t skip this)
Before you dig anything, plan:
Falls and drainage
In Australia, drainage is everything. Aim for:
- Minimum fall: 1:80 away from buildings
- Around pools and exposed areas, many pros use 1:60 for quicker drainage
Always plan where water will go:
- garden beds, strip drains, spoon drains, stormwater points
Quantities and waste
- Add 10% extra for straight-lay areas
- Add 15% extra for patterns (French/Versailles), curves, or lots of cuts
Joint widths (stone looks best when it’s consistent)
- sawn/calibrated edges: 3–5mm
- tumbled edges / rustic stone: 5–10mm
- wide-joint outdoor style: 8–12mm (good for character stone)
3) Australian-friendly material selection (thickness matters)
This is a simple rule that prevents most headaches:
- 12mm stone: use wet-lay on a concrete slab
- 20mm stone: slab install is safest; some pedestrian bases are possible depending on stone/type
- 30mm+ stone: ideal for sand/cement base installs outdoors
- Driveways: should be engineered properly (don’t guess) — thicker stone and correct pavement design
4) Installation Method A: Sand/Cement Base (step-by-step)
(ideal for 30mm natural stone pavers in most outdoor areas)
Step A1 — Set out levels and stringlines
- Mark finished levels, edges, steps, and falls
- Use pegs + stringlines (a laser is best)
Step A2 — Excavation depth (guide)
Depth varies by soil, but for pedestrian areas you typically allow:
- 80–120mm road base
- 25–35mm bedding
- plus paver thickness
If you’re on softer ground or reactive clay (common in VIC/NSW), allow extra depth and compaction.
Step A3 — Compact the subgrade
- Compact the natural ground first
- Remove any soft spots and replace with compactable fill
Step A4 — Install road base (crushed rock)
- Install in layers of 50–75mm
- Compact each layer thoroughly
- Check falls constantly
Step A5 — Install edge restraints (mandatory)
Stone will move without restraints.
Use:
- concrete haunching, steel/aluminium edging, or treated sleepers (depending on design)
Step A6 — Bedding layer (sand/cement)
A common bedding mix is 8 parts sand : 1 part cement (dry mixed).
- Screed bedding to 25–35mm
- Work in small zones so it doesn’t dry out before laying stone
Step A7 — Lay pavers
- Start from the straightest edge
- Tap in with a rubber mallet
- Keep joints consistent
- Cut edges with a diamond blade (wet cutting helps reduce dust)
Step A8 — Jointing
Choose the right joint fill for the project:
- polymeric sand for small joints (low-movement areas)
- dry jointing sand (traditional, may wash out)
- grout/mortar joints (often best around pools and premium finishes)
5) Installation Method B: Wet-Lay on a Concrete Slab (step-by-step)
(best for 12mm–20mm stone and outdoor tiled areas)
Step B1 — Check the slab
- Must be solid, clean, and correctly sloped
- If falls are wrong, fix with a screed or appropriate levelling system
Step B2 — Waterproofing (where required)
Balconies, suspended slabs, and some pool interfaces may require waterproofing compliant with Australian standards and manufacturer systems.
Step B3 — Use the correct exterior adhesive
Outdoor stone moves. Use a high-quality flexible exterior adhesive suitable for natural stone.
Pro tip: double-butter for best bond
- adhesive on slab + back-butter each paver
Step B4 — Movement joints (don’t skip)
Movement joints prevent tenting and cracking.
Include:
- perimeter joints against walls/columns
- joints every 3–5m depending on exposure
- align with slab control joints (carry them through)
Step B5 — Grout/joint fill and clean-up
Use an exterior-rated grout or mortar suitable for your joint width.
Clean as you go to avoid haze.
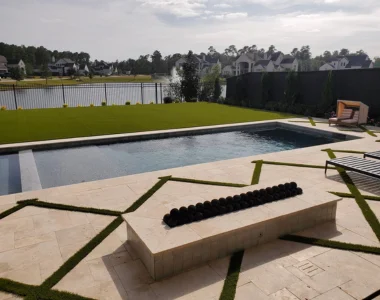
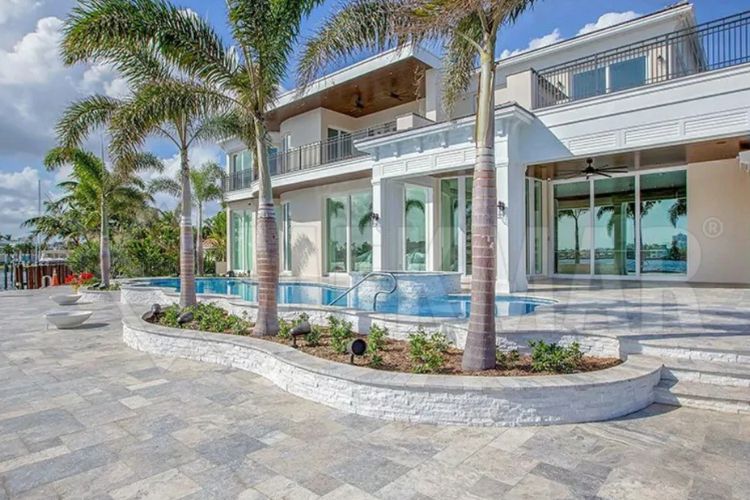
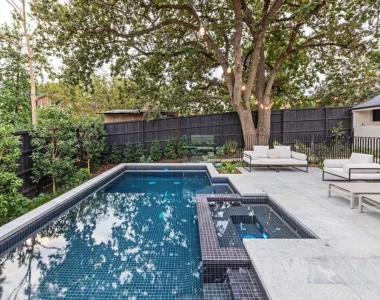
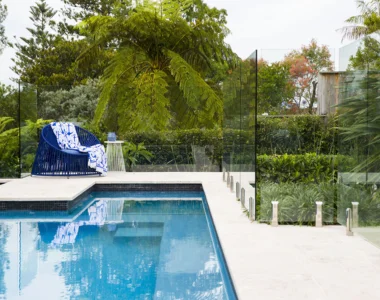
6) Pool surrounds: what matters in Melbourne and Australia
Pool zones are harsh environments: sun, water, chemicals, foot traffic.
Key points:
- prioritise slip resistance
- ensure falls drain away properly
- rinse down regularly to reduce chemical build-up
- avoid harsh acids (they can etch calcium-based stone like travertine/limestone)
7) Sealing natural stone (highly recommended)
Most natural stone performs best when sealed.
When to seal
- after installation, once joints are cured and the stone is dry
Some installers pre-seal faces to reduce grout staining (stone dependent).
What sealer
- choose a penetrating sealer suitable for your stone type
- pick natural finish unless you want an enhanced “wet look”
Maintenance tip
If water immediately darkens the surface, it’s time to reseal.
8) Common mistakes (and how to avoid them)
- No drainage/falls: ponding, stains, algae
- Poor compaction: settling and lippage
- No edge restraints: creeping pavers, opened joints
- Wrong adhesive outdoors: hollow spots and debonding
- No movement joints: cracking/tenting in heat
- Sealing too early: moisture trapping and haze
Need help choosing the right stone and thickness?
If you’re in Metro Melbourne, we can help you match the right stone, thickness, finish and install method for your project — and avoid expensive mistakes.
Speak with Master Stonemason Glenn Russell at Stone & Slate Discounts for practical advice, samples and pricing.
Order samples • Get a quote • Australia-wide delivery
