


How to Install Your Pool Coping Correctly and What to do if it is Failing
Glenn Russell - Master Stonemason
Experienced working in the industry for over 40 years.
Author
Why Pool Coping Cracks (Fibreglass Pool + Limestone Coping on a Concrete Slab) — and How to Fix It
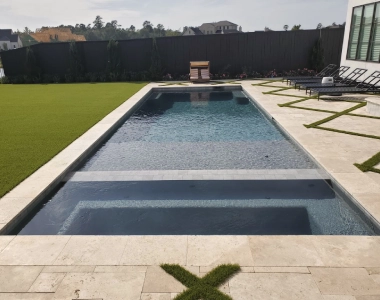
If you’ve noticed a long crack running through your pool coping or the first row of pavers around the pool, you’re not alone. This is one of the most common pool-surround failures we see—especially with fibreglass pools and wet-laid natural stone coping.
The good news: it’s usually fixable. The bad news: simply replacing the cracked stones often doesn’t last unless the real cause is addressed.
This article explains why it happens, what your photos are showing, and the proper long-term fix.
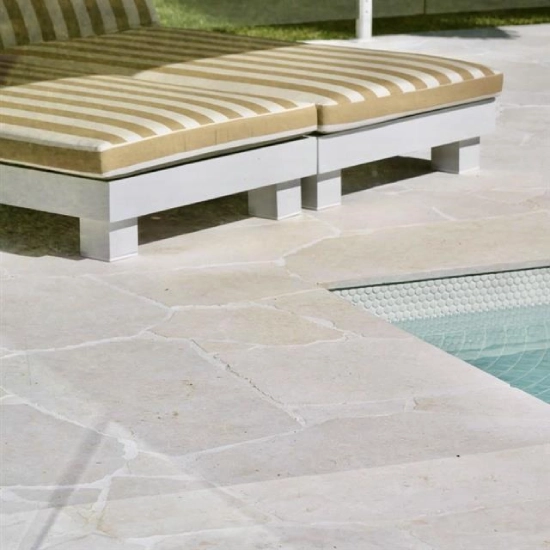
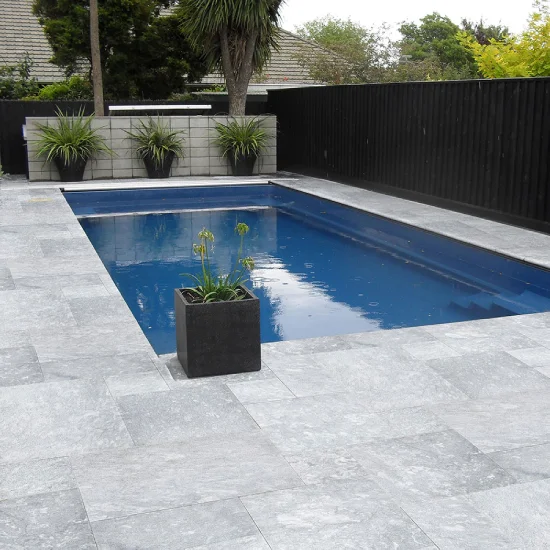
The setup (your pool edge details)
In this case, the coping is:
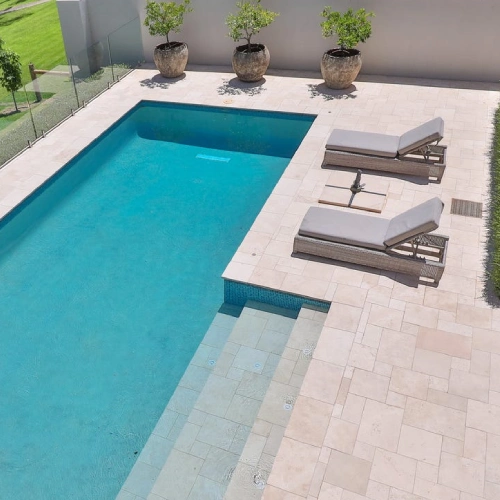
Limestone
20mm thick
Wet-laid (stuck down with adhesive)
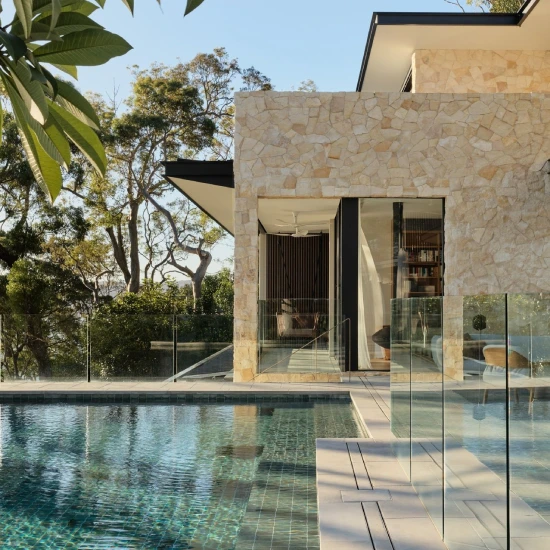
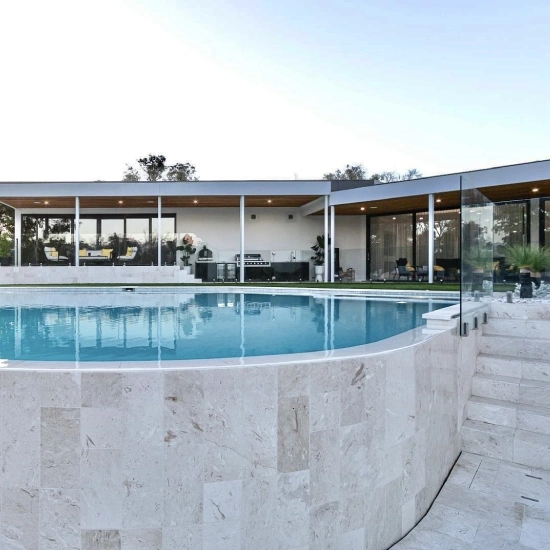
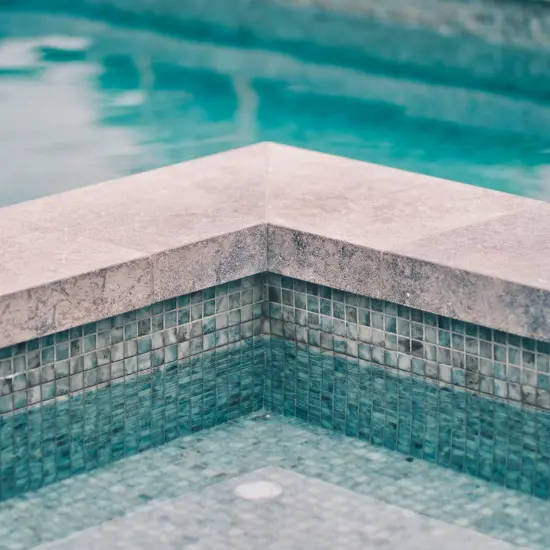
A one-piece rebated coping with a 40mm drop face (the nice “frame” look into the pool)
This is a premium finish—but it needs the right jointing detail because it sits right where movement is most likely to occur.
What the cracking pattern usually means
When cracking is:
a long, continuous line, and
runs across multiple coping/paver pieces,
…it’s rarely a “bad tile” problem. That pattern almost always points to movement underneath the stone, and the stone being forced to take the stress.
Think of it like this: the coping has been made to act like a rigid bridge between two structures that don’t move the same way.
The real reason it failed: two structures moving differently
Fibreglass pool + concrete slab = different movement
A fibreglass pool is its own structure. A concrete surround slab is another structure.
They respond differently to:
temperature changes (expansion/contraction),
soil movement,
moisture changes,
loading and settlement.
If the coping and paving are installed without a proper flexible movement joint between the pool edge and the slab/surround, the stonework can’t “breathe”. Instead, the stress releases as a crack.
Why rebated (drop-face) coping can crack more easily in this circumstance
Rebated coping looks fantastic—but it also creates a natural weak point.
Because the coping is shaped like an “L” (top plus the 40mm drop face), even small movement can concentrate stress near:
the rebate line,
the pool edge,
or the line where the coping meets the surrounding paving.
That doesn’t mean rebated coping is a bad product. It just means it must be installed with:
full support under the stone, and
a correct movement joint at the pool/surround junction.
Common installation issues that cause this cracking
Here are the usual culprits (often more than one is involved):
1) No proper movement / control joint
If grout, mortar, or adhesive has been used to “lock” the coping and surround together, the installation becomes rigid—and movement has nowhere to go.
2) Poor adhesive coverage (voids under stone)
With 20mm limestone, spot-bedding or incomplete coverage leaves hollow sections. Over time, foot traffic and minor movement causes flexing and cracking.
3) Slab settlement or slight heave
Even a few millimetres of level change between the pool edge zone and the slab can crack a rigid coping line.
4) Movement joints missing in the larger paving area
Large areas of paving should have planned movement joints. Without them, stress often concentrates at the pool edge.
How to check what’s happening (simple homeowner checks)
You don’t need to be a builder to do a quick inspection:
Check 1: Is there a “step” across the crack?
Run a straight edge across it.
If one side is higher/lower, movement or settlement is likely involved.
Check 2: Tap the coping near the crack
Use the handle of a screwdriver and tap lightly.
A hollow sound often indicates poor adhesive coverage or debonding.
Check 3: Look for a flexible joint near the pool edge
A correct pool edge detail usually includes a soft/flexible joint somewhere at the junction between structures.
If it’s all hard grout/stone-on-stone with no flexible joint, that’s a red flag.
The right way to fix it (so it doesn’t crack again)
Step 1 — Don’t just replace the cracked stones
Replacing the damaged coping without fixing the movement issue often results in repeat cracking.
Step 2 — Lift the affected coping and inspect the base
A proper repair usually starts by removing:
cracked coping pieces, and
any adjacent pieces that are hollow or debonded.
Then the installer checks:
slab cracks and condition,
drainage and water pooling,
and whether the slab is pressing against the pool edge.
Step 3 — Install a proper movement joint at the pool/surround junction
This is the key to a long-term solution.
A correct movement joint generally includes:
a clear gap,
a backing material (often backer rod),
and a flexible sealant suitable for exterior use.
That flexible joint is what allows the pool structure and the slab to move independently—without transferring stress into the limestone.
Step 4 — Relay coping with full adhesive coverage
For 20mm limestone coping, the installer should aim for:
full bedding support (no voids),
correct adhesive for natural stone + outdoor use,
correct falls away from the pool where applicable.
Step 5 — Ensure movement joints exist in the larger paving field
This reduces stress building up and “dumping” at the pool edge.
When you should escalate it (warranty / builder)
If you can clearly see:
ongoing movement,
a consistent level drop,
or the crack line growing,
…it’s worth getting a qualified professional to assess the slab/pool edge and checking your pool/build warranty. In some cases, relaying alone may only be a temporary fix if the underlying movement isn’t addressed.
Prevention tips (if you’re building or renovating)
If you’re planning a new pool surround with limestone coping:
✅ Use a proven movement joint detail at structural junctions
✅ Avoid spot-bedding—ensure full support under coping
✅ Make sure drainage is right (standing water increases problems)
✅ Include movement joints in large surround areas
✅ Choose matching coping + pavers as a designed package (and install correctly)
Need help choosing the right coping + pavers package?
A well-designed pool surround is all about:
the right stone,
the right matching coping,
and the right installation detail.
If you’d like a clean “one decision” package, choose matching limestone pavers and coping and ensure your installer allows for proper movement joints—so your pool area looks premium and stays that way.
