Australia's Cheapest Stone Tiles & Pavers

360,000+ Happy Customers
36 years in business

FREE Express Posted Samples

Fast & Easy Nationwide Delivery
European Bluestone® Diamond Sawn
Price range: $39.00 through $81.00 excl. GSTSelect optionsThis product has multiple variants. The options may be chosen on the product page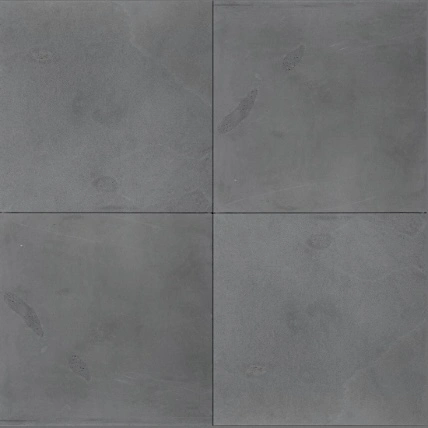

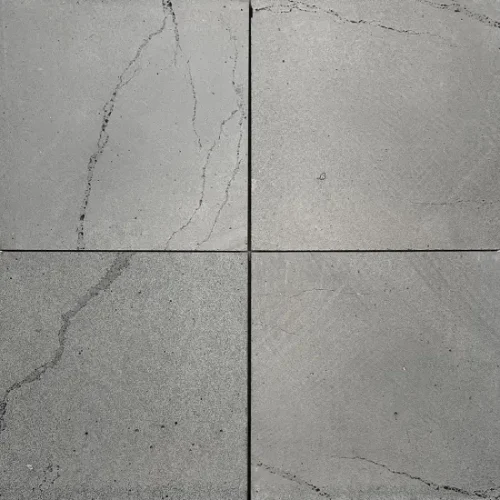
Harkaway Bluestone® Premium Grade
Price range: $54.00 through $145.00 excl. GSTSelect optionsThis product has multiple variants. The options may be chosen on the product page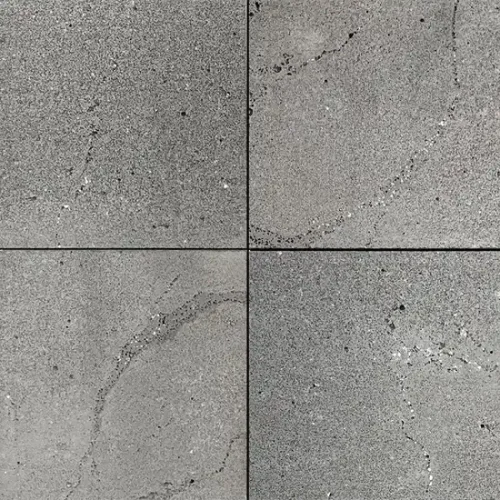
Australian Bluestone Diamond Sawn
Price range: $118.00 through $136.00 excl. GSTSelect optionsThis product has multiple variants. The options may be chosen on the product page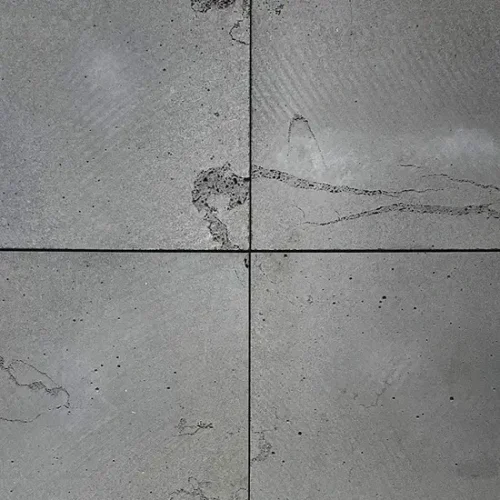

Chinese Standard Grade Bluestone
Price range: $39.00 through $81.00 excl. GSTSelect optionsThis product has multiple variants. The options may be chosen on the product pageChinese Premium Bluestone
Price range: $59.00 through $93.00 excl. GSTSelect optionsThis product has multiple variants. The options may be chosen on the product page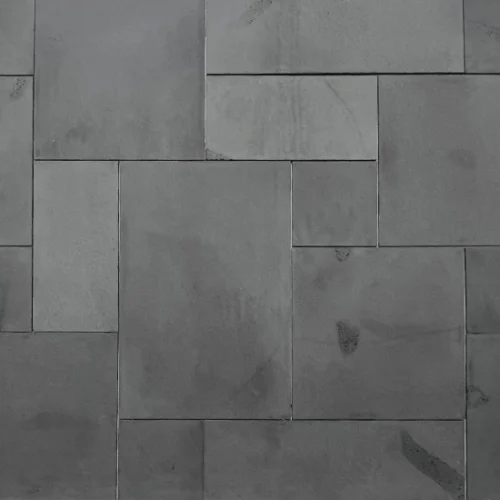

Harkaway Bluestone French Pattern
Price range: $60.00 through $81.00 excl. GSTSelect optionsThis product has multiple variants. The options may be chosen on the product page
-


Bluestone Steppers
Price range: $20.00 through $108.00 excl. GSTSelect optionsThis product has multiple variants. The options may be chosen on the product page -

European Bluestone Crazy Paving- Easy To Install
Price range: $50.00 through $68.00 excl. GSTSelect optionsThis product has multiple variants. The options may be chosen on the product page 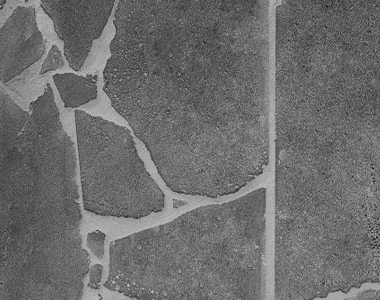

Australian Bluestone Slab Offcuts Crazy Paving- Easy To Install
Price range: $39.00 through $63.00 excl. GSTSelect optionsThis product has multiple variants. The options may be chosen on the product page-

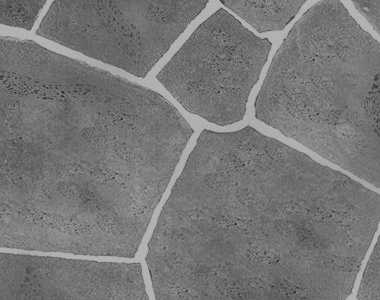
Harkaway Premium Bluestone Crazy Paving- Easy To Install
Price range: $54.00 through $72.00 excl. GSTSelect optionsThis product has multiple variants. The options may be chosen on the product page 
European Bluestone Stepping Stones
Price range: $11.00 through $22.00 excl. GSTSelect optionsThis product has multiple variants. The options may be chosen on the product page
Harkaway Bluestone® Drop Edge Pool Coping- No Joins- 1 Solid Piece Of Stone
Price range: $31.00 through $127.00 excl. GSTSelect optionsThis product has multiple variants. The options may be chosen on the product page-

European Bluestone® Drop Down Pool Coping- No Joins- 1 Solid Piece Of Stone
Price range: $27.00 through $99.00 excl. GSTSelect optionsThis product has multiple variants. The options may be chosen on the product page Harkaway Bluestone® Square Bevel Edge Pool Coping
Price range: $21.00 through $172.00 excl. GSTSelect optionsThis product has multiple variants. The options may be chosen on the product page-
European Bluestone® Square Bevel Edge Pool Coping
Price range: $19.00 through $45.00 excl. GSTSelect optionsThis product has multiple variants. The options may be chosen on the product page Harkaway Bluestone® Bullnose Pool Coping
Price range: $21.00 through $172.00 excl. GSTSelect optionsThis product has multiple variants. The options may be chosen on the product page-
European Bluestone® Bullnose Pool Coping
Price range: $19.00 through $45.00 excl. GSTSelect optionsThis product has multiple variants. The options may be chosen on the product page 
Harkaway Bluestone® Custom Curved Pool Coping- No Joins- 1 Solid Piece Of Stone
excl. GSTRead more