Australia's Cheapest Stone Tiles & Pavers

360,000+ Happy Customers
36 years in business

FREE Express Posted Samples

Fast & Easy Nationwide Delivery

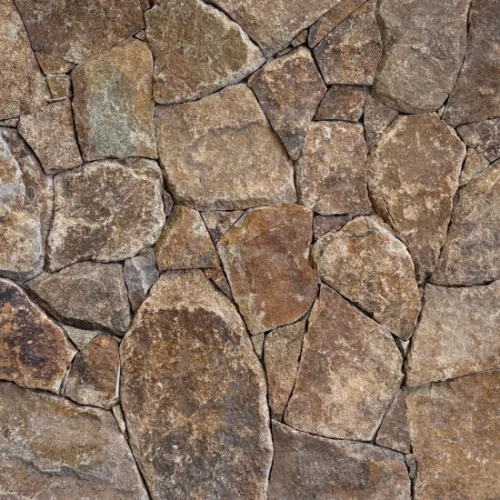
Ebony & Rust Loose Stone Cladding
Price range: $72.00 through $90.00 excl. GSTSelect optionsThis product has multiple variants. The options may be chosen on the product page-


Kakadu Loose Stone Cladding
Original price was: $129.00.$72.00 excl. GSTCurrent price is: $72.00.Select optionsThis product has multiple variants. The options may be chosen on the product page 
Grampians Loose Stone Cladding
Price range: $72.00 through $90.00 excl. GSTSelect optionsThis product has multiple variants. The options may be chosen on the product page

Sandstone Loose Stone Cladding
Price range: $99.00 through $127.00 excl. GSTSelect optionsThis product has multiple variants. The options may be chosen on the product page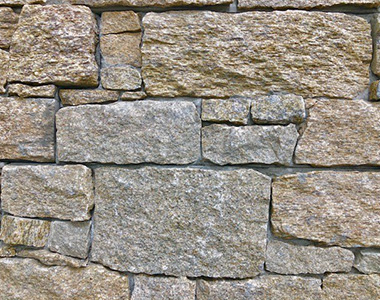
Earth Loose Stone Cladding
Price range: $72.00 through $90.00 excl. GSTSelect optionsThis product has multiple variants. The options may be chosen on the product page
Grampians Ledgestone
Price range: $8.00 through $127.00 excl. GSTSelect optionsThis product has multiple variants. The options may be chosen on the product page")
Uluru Ledgestone Wall Cladding
Price range: $8.00 through $127.00 excl. GSTSelect optionsThis product has multiple variants. The options may be chosen on the product page
Brazil Stack Stone Wall Panels
Price range: $4.50 through $63.00 excl. GSTSelect optionsThis product has multiple variants. The options may be chosen on the product page-


Ebony Ledgestone Wall Cladding
Price range: $8.00 through $99.00 excl. GSTSelect optionsThis product has multiple variants. The options may be chosen on the product page 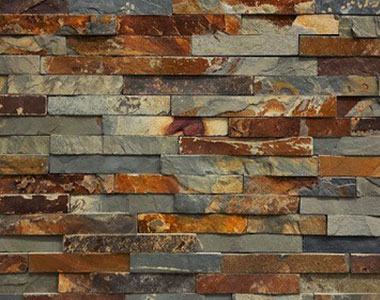
Kakadu Stackstone Wall Cladding
Price range: $3.50 through $60.00 excl. GSTSelect optionsThis product has multiple variants. The options may be chosen on the product page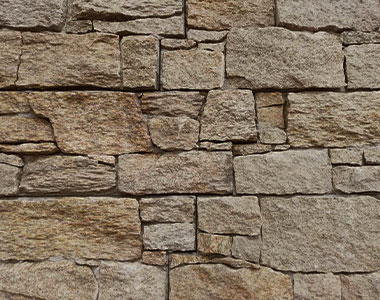

Earth Ledgestone Panel Cladding
Price range: $8.00 through $127.00 excl. GSTSelect optionsThis product has multiple variants. The options may be chosen on the product page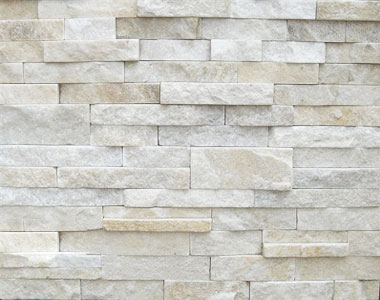

Quartz White Stack Stone
Price range: $4.50 through $68.00 excl. GSTSelect optionsThis product has multiple variants. The options may be chosen on the product page
Ebony Stack Stone Panels
Price range: $4.50 through $68.00 excl. GSTSelect optionsThis product has multiple variants. The options may be chosen on the product pageKakadu Geometric Slate Stone
excl. GSTSelect optionsThis product has multiple variants. The options may be chosen on the product page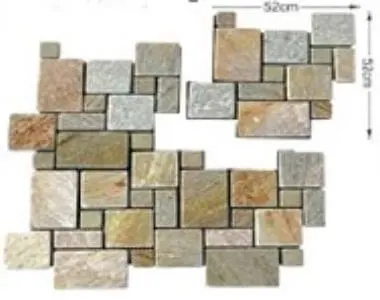
Brazil Quartz French Pattern
$119.00 excl. GSTSelect optionsThis product has multiple variants. The options may be chosen on the product page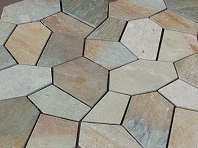

Brazil Loose Wall Cladding
$109.00 excl. GSTSelect optionsThis product has multiple variants. The options may be chosen on the product page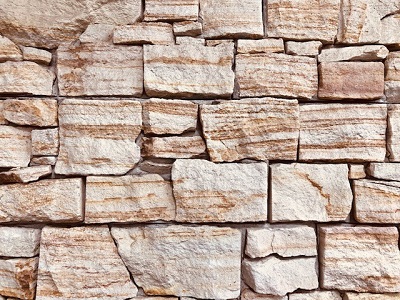
Sandstone Ledgestone Cladding
Price range: $10.00 through $145.00 excl. GSTSelect optionsThis product has multiple variants. The options may be chosen on the product page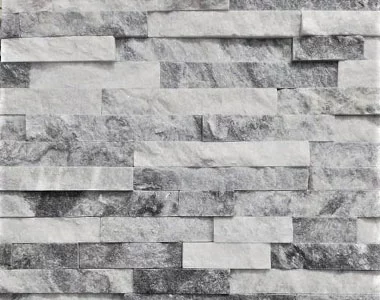

Smokey Quartz Stackstone
Price range: $4.50 through $63.00 excl. GSTSelect optionsThis product has multiple variants. The options may be chosen on the product page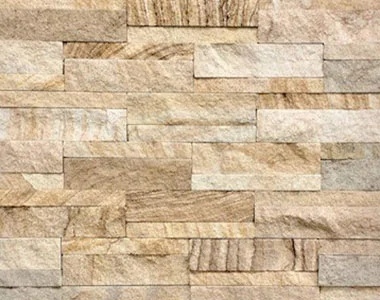

Sandstone Stack Stone
Price range: $4.50 through $70.00 excl. GSTSelect optionsThis product has multiple variants. The options may be chosen on the product page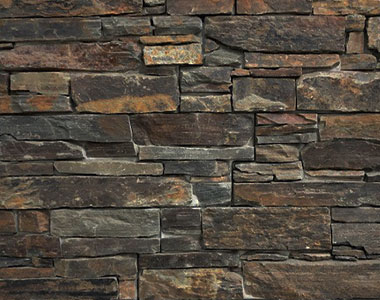
Kakadu Ledgestone Wall Cladding
Price range: $8.00 through $127.00 excl. GSTSelect optionsThis product has multiple variants. The options may be chosen on the product page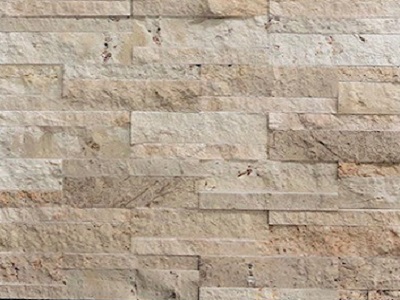

Travertine Stack Stone Panels
Price range: $6.50 through $90.00 excl. GSTSelect optionsThis product has multiple variants. The options may be chosen on the product page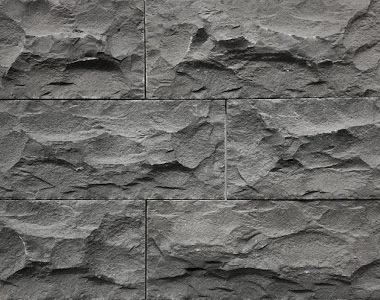

Bluestone Wall Cladding Tiles
excl. GSTRead more