Australia's Cheapest Stone Tiles & Pavers

360,000+ Happy Customers
36 years in business

FREE Express Posted Samples

Fast & Easy Nationwide Delivery
-

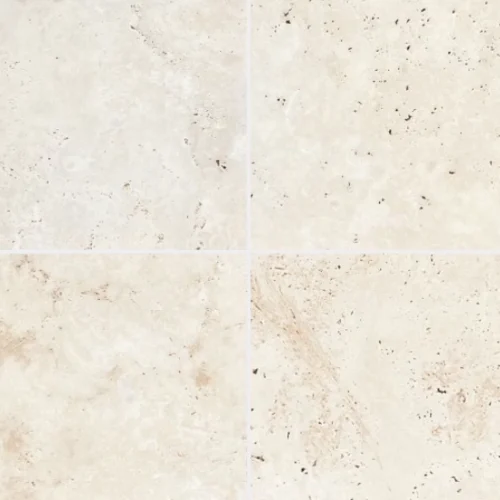

Ivory Travertine “A” Grade Quality
Price range: $54.00 through $124.00 excl. GSTSelect optionsThis product has multiple variants. The options may be chosen on the product page -

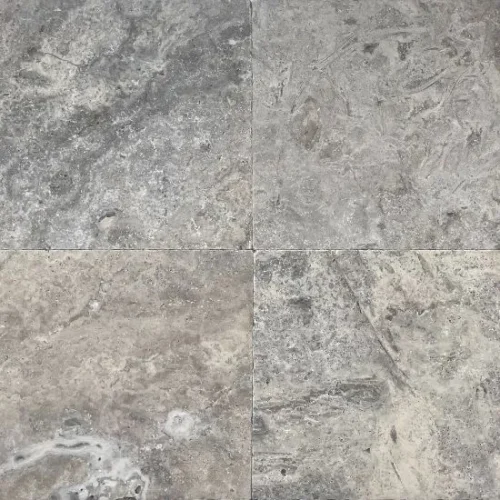

Silver Travertine “A” Grade Quality
Price range: $60.00 through $99.00 excl. GSTSelect optionsThis product has multiple variants. The options may be chosen on the product page 

Shell White Limestone
Price range: $90.00 through $139.00 excl. GSTSelect optionsThis product has multiple variants. The options may be chosen on the product page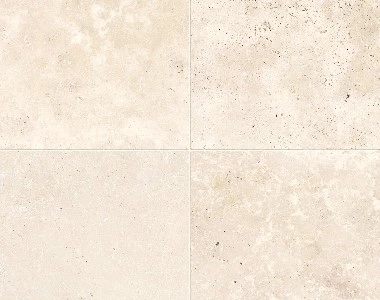

Ivory Travertine Tiles – Premium Grade
$62.00 excl. GSTSelect optionsThis product has multiple variants. The options may be chosen on the product page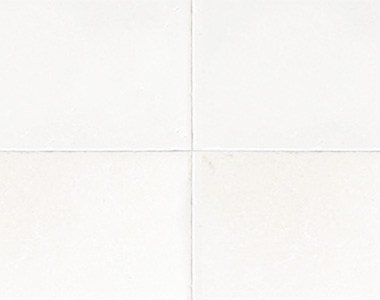

White Limestone- Capri
Price range: $90.00 through $136.00 excl. GSTSelect optionsThis product has multiple variants. The options may be chosen on the product page-

Ivory Travertine French Pattern “A” Grade Quality
Price range: $54.00 through $90.00 excl. GSTSelect optionsThis product has multiple variants. The options may be chosen on the product page 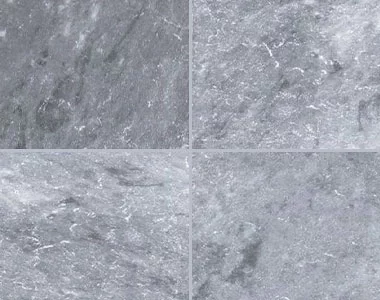

Pearl Grey Limestone Tiles
Price range: $75.00 through $127.00 excl. GSTSelect optionsThis product has multiple variants. The options may be chosen on the product pageShell White French Pattern Tiles
$90.00 excl. GSTSelect optionsThis product has multiple variants. The options may be chosen on the product page-
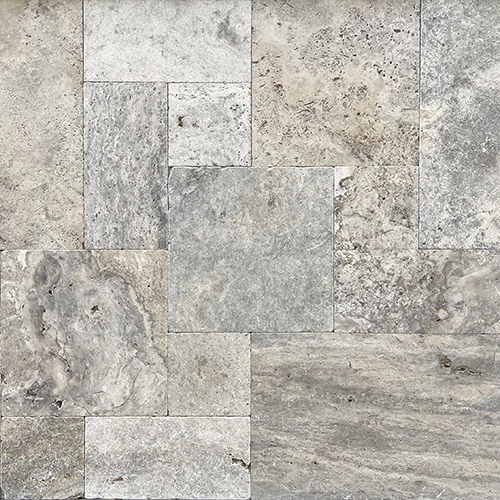

Silver Travertine French Pattern “A” Grade Quality
Price range: $60.00 through $99.00 excl. GSTSelect optionsThis product has multiple variants. The options may be chosen on the product page 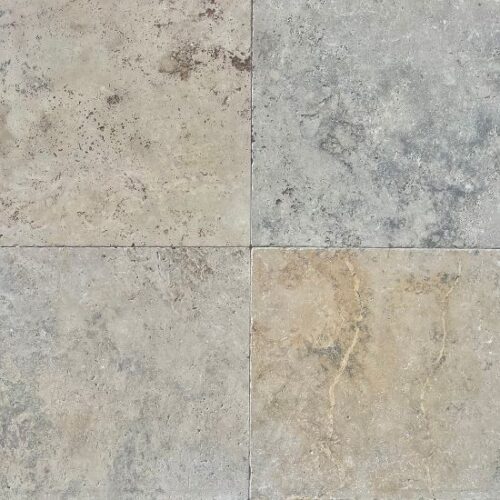

Antique Travertine Tiles “A” Grade Quality
Price range: $51.00 through $99.00 excl. GSTSelect optionsThis product has multiple variants. The options may be chosen on the product page
Noce Travertine Pavers “A” Grade Quality
Price range: $54.00 through $99.00 excl. GSTSelect optionsThis product has multiple variants. The options may be chosen on the product page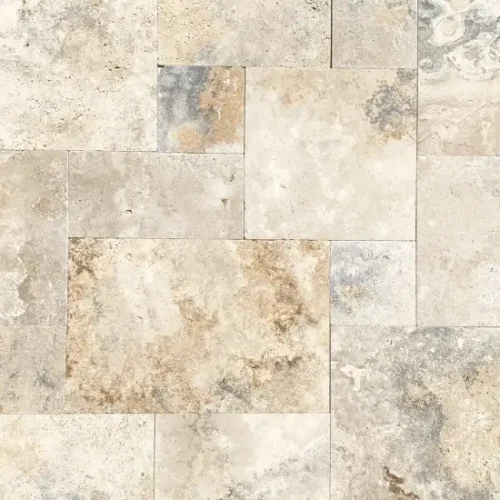

Antique Travertine French Pattern “A” Grade Quality
$51.00 excl. GSTSelect optionsThis product has multiple variants. The options may be chosen on the product page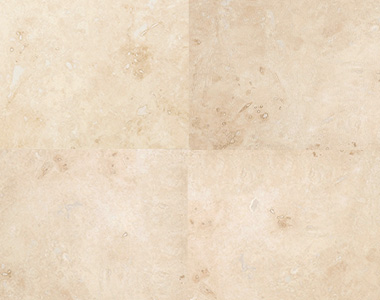

Ivory Travertine (Filled & Honed) Floor TIles
Price range: $72.00 through $90.00 excl. GSTSelect optionsThis product has multiple variants. The options may be chosen on the product page
Travertine Loose Cladding
Price range: $109.00 through $127.00 excl. GSTSelect optionsThis product has multiple variants. The options may be chosen on the product page
-

Travertine Crazy Paving- Ivory- Easy To Install
Price range: $63.00 through $72.00 excl. GSTSelect optionsThis product has multiple variants. The options may be chosen on the product page -
")
Silver Travertine Crazy Paving- Easy To Install
Original price was: $120.00.$72.00 excl. GSTCurrent price is: $72.00.Select optionsThis product has multiple variants. The options may be chosen on the product page
-
Ivory Travertine Drop Edge Pool Coping- No Joins- 1 Solid piece of Stone
Price range: $54.00 through $81.00 excl. GSTSelect optionsThis product has multiple variants. The options may be chosen on the product page -

Silver Travertine Drop Down Pool Coping- No Joins- 1 Solid piece of Stone
Price range: $60.00 through $90.00 excl. GSTSelect optionsThis product has multiple variants. The options may be chosen on the product page Noce Travertine Drop Edge Pool Coping- No Joins- 1 Solid piece of Stone
Price range: $60.00 through $90.00 excl. GSTSelect optionsThis product has multiple variants. The options may be chosen on the product pageAntique Travertine Drop Edge Pool Coping- No Joins- 1 Solid piece of Stone
Price range: $60.00 through $90.00 excl. GSTSelect optionsThis product has multiple variants. The options may be chosen on the product page-

Ivory Travertine Tumbled Pool Coping
Original price was: $34.00.$27.00 excl. GSTCurrent price is: $27.00.Select optionsThis product has multiple variants. The options may be chosen on the product page Noce Travertine Bullnose Pool Coping
$33.00 excl. GSTSelect optionsThis product has multiple variants. The options may be chosen on the product page-
")
Ivory Travertine Bullnose Pool Coping
Original price was: $37.00.$30.00 excl. GSTCurrent price is: $30.00.Select optionsThis product has multiple variants. The options may be chosen on the product page -
Silver Travertine Bullnose Pool Coping
Original price was: $43.00.$34.00 excl. GSTCurrent price is: $34.00.Select optionsThis product has multiple variants. The options may be chosen on the product page